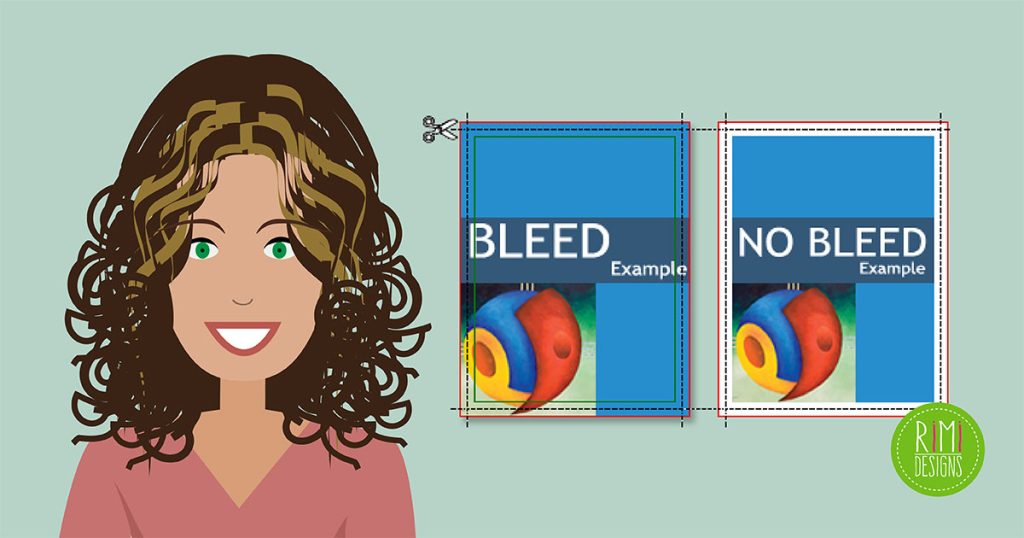
The Ultimate Guide to Print-Ready Bleeds
Bleed is a part of the printers vocabulary – a word that digital designers are familiar with, but often never have to confront face-to-face the same way a press operator does.
With that said, in the event a designer ignores the impending implications of a bleed in the design process, the printer can have difficulty in successfully manufacturing the job.
This article clears the fog and shows the proper way to address print-ready bleeds in Adobe Illustrator, Photoshop and InDesign.
Definition

A bleed is essentially the visual content that runs over the trim edge or the intended cut line on the printed stock sheet. Once the stock sheet is printed on, the trim line is cut and the bleed is removed.
In the simple example above, notice how the circle design element “bleeds” off the edge of what will be the final printed sheet (after trimming). This bleed is important, as it allows flexibility in production environments, where the trim is not in the exact same spot for each sheet.
How much bleed to leave
For a digital designer, there is no such thing as too much bleed. Even in cases where the printer will tile the job for printing on a much larger sheet, they will have the ability to decrease the amount of bleed, if need be.
With that said, it never hurts to ask a client for their printers contact info. In this guide, a 1 inch bleed is used and can be considered very safe practice.
Illustrator

In the “New Document” prompt, there is an option to set the bleed guideline. The maximum bleed is 1 inch – a large margin of error for the trim on modern printing equipment. But again, it doesn’t hurt from the digital designer’s standpoint.
Photoshop

Photoshop generally isn’t intended to handle print-related parameters such as bleed so much, as it is intended to process photo elements of print jobs in a program such as InDesign. Therefore, in a “best practice” work flow, bleed would be ignored in Photoshop and later addressed in InDesign, when assembling the job.
With that said, the Adobe workflow often needs to be manipulated in ways it wasn’t meant to. In the event that bleeds need to be accounted for in Photoshop – say, for a job you are printing yourself – simple maths can be done to account.
In the example above, a 4″x6″ image is intended to be printed and trimmed out of a 5″x7″ sheet. The document has been created at 5″x7″. Guide (trim) lines have been placed at a 1″ margin, thus providing the 4″x6″ trim line with a 1″ bleed area. Lastly, custom crop marks have been placed along the guides.
InDesign


The max bleed in InDesign is 6 inches, far larger than the margin of error on any modern print equipment.
Here, a 1 inch bleed should be plenty, but again it doesn’t hurt to call the printer.
Similar to Illustrator, InDesign provides red guidelines for the bleed area.
Conclusion
The suggestions above are a good foundation for handling bleeds. With that said, many projects, printing websites or clients might provide templates with set bleed areas.
As long as a solid understanding of what a bleed is can be maintained, these templates will be easy to work with. Remember to pull the colour fills all the way to the bleed line.
SOURCE: 99 Designs


